在现代Web应用开发中,前后端分离架构已成为主流。前端通过API与后端进行数据交互,实现动态内容展示和实时更新功能。本教程将指导您如何在前端调用之前创建的北京时间API,并实现一个实时时钟功能,展示如何将后端数据与前端界面相结合。
前端API调用基础
在前端调用API通常使用以下几种方法[1]:
- Fetch API:现代浏览器内置的API,基于Promise
- XMLHttpRequest:传统的AJAX技术
- Axios:第三方库,提供更丰富的功能
- jQuery AJAX:jQuery库提供的AJAX方法
在本教程中,我们将使用现代的Fetch API来调用后端API。
更新主页以显示实时时钟
我们将修改之前创建的主页,在页面中添加一个实时时钟组件,并通过调用北京时间API来获取准确的时间数据。
修改主页文件
打开public/index.html文件,替换内容为以下代码:
1
2
3
4
5
6
7
8
9
10
11
12
13
14
15
16
17
18
19
20
21
22
23
24
25
26
27
28
29
30
31
32
33
34
35
36
37
38
39
40
41
42
43
44
45
46
47
48
49
50
51
52
53
54
55
56
57
58
59
60
61
62
63
64
65
66
67
68
69
70
71
72
73
74
75
76
77
78
79
80
81
82
83
84
85
86
87
88
89
90
91
92
93
94
95
96
97
98
99
100
101
102
103
104
105
106
107
108
109
110
111
112
113
114
115
116
117
118
119
120
121
122
123
124
125
126
127
128
129
130
131
132
133
134
135
136
137
138
139
140
141
142
143
144
145
146
147
148
149
150
151
152
153
154
155
156
157
158
159
160
161
162
163
164
165
166
167
168
169
| <!DOCTYPE html>
<html lang="zh-CN">
<head>
<meta charset="UTF-8">
<meta name="viewport" content="width=device-width, initial-scale=1.0">
<title>我的Express应用</title>
<link rel="stylesheet" href="/css/bootstrap.min.css">
<link rel="stylesheet" href="/css/bootstrap-icons.css">
<style>
body {
padding-top: 20px;
}
.feature-icon {
width: 4rem;
height: 4rem;
border-radius: .75rem;
}
.clock-container {
text-align: center;
margin: 30px 0;
}
.digital-clock {
font-size: 3rem;
font-weight: bold;
font-family: 'Courier New', monospace;
color: #0d6efd;
background-color: #f8f9fa;
padding: 20px;
border-radius: 10px;
box-shadow: 0 4px 8px rgba(0,0,0,0.1);
}
.time-info {
margin-top: 10px;
font-size: 1.2rem;
}
</style>
</head>
<body>
<div class="container">
<header class="d-flex align-items-center pb-3 mb-5 border-bottom">
<h1 class="h2">欢迎来到我的Express应用</h1>
</header>
<div class="clock-container">
<h2>北京时间</h2>
<div id="digital-clock" class="digital-clock">
--:--:--
</div>
<div id="time-info" class="time-info">
正在获取时间数据...
</div>
<button id="refresh-btn" class="btn btn-primary mt-3">
<i class="bi bi-arrow-clockwise"></i> 刷新时间
</button>
</div>
<div class="row g-4 py-5 row-cols-1 row-cols-lg-3">
<div class="col d-flex align-items-start">
<div class="icon-square text-body-emphasis bg-body-secondary d-inline-flex align-items-center justify-content-center fs-4 flex-shrink-0 me-3">
<i class="bi bi-bootstrap"></i>
</div>
<div>
<h3 class="fs-4">Bootstrap框架</h3>
<p>使用Bootstrap快速构建响应式网页,让网站在各种设备上都有良好的显示效果。</p>
<a href="#" class="btn btn-primary">
了解更多
</a>
</div>
</div>
<div class="col d-flex align-items-start">
<div class="icon-square text-body-emphasis bg-body-secondary d-inline-flex align-items-center justify-content-center fs-4 flex-shrink-0 me-3">
<i class="bi bi-file-code"></i>
</div>
<div>
<h3 class="fs-4">Express.js</h3>
<p>基于Node.js的快速、开放、极简的Web应用框架,为构建Web应用和API提供强大功能。</p>
<a href="#" class="btn btn-primary">
了解更多
</a>
</div>
</div>
<div class="col d-flex align-items-start">
<div class="icon-square text-body-emphasis bg-body-secondary d-inline-flex align-items-center justify-content-center fs-4 flex-shrink-0 me-3">
<i class="bi bi-lightning"></i>
</div>
<div>
<h3 class="fs-4">高性能</h3>
<p>采用事件驱动、非阻塞I/O模型,使其轻量又高效,能够处理大量并发请求。</p>
<a href="#" class="btn btn-primary">
了解更多
</a>
</div>
</div>
</div>
<footer class="pt-5 my-5 text-body-secondary border-top">
© 2025 我的Express应用 - 使用Bootstrap v5构建
</footer>
</div>
<script src="/js/bootstrap.bundle.min.js"></script>
<script>
async function getBeijingTime() {
try {
document.getElementById('digital-clock').textContent = '--:--:--';
document.getElementById('time-info').textContent = '正在获取时间数据...';
const response = await fetch('/api/beijing-time');
if (!response.ok) {
throw new Error(`HTTP error! status: ${response.status}`);
}
const timeData = await response.json();
updateClockDisplay(timeData);
return timeData;
} catch (error) {
console.error('获取时间失败:', error);
document.getElementById('time-info').textContent = '获取时间失败,请稍后重试';
}
}
function updateClockDisplay(timeData) {
const timeParts = timeData.formattedTime.split(' ')[1].split(':');
document.getElementById('digital-clock').textContent =
`${timeParts[0]}:${timeParts[1]}:${timeParts[2]}`;
document.getElementById('time-info').innerHTML = `
<strong>完整时间:</strong> ${timeData.formattedTime}<br>
<strong>时区:</strong> ${timeData.timezone} (UTC${timeData.utcOffset})<br>
<strong>ISO格式:</strong> ${timeData.currentTime}
`;
}
document.addEventListener('DOMContentLoaded', function() {
getBeijingTime();
setInterval(function() {
getBeijingTime();
}, 1000);
document.getElementById('refresh-btn').addEventListener('click', function() {
getBeijingTime();
});
});
</script>
</body>
</html>
|
代码详细说明
HTML结构
- 时钟容器:创建了一个专门用于显示时钟的区域
- 数字时钟显示:使用
<div id="digital-clock">元素显示时间
- 时间信息:使用
<div id="time-info">元素显示详细时间信息
- 刷新按钮:提供手动刷新时间的功能
CSS样式
-
数字时钟样式:
- 大字体显示时间
- 使用等宽字体确保数字对齐
- 添加背景色和阴影效果
- 圆角边框增加美观性
-
响应式设计:
- 使用Bootstrap的网格系统
- 适配不同屏幕尺寸
JavaScript功能
-
getBeijingTime()函数:
- 使用async/await语法调用API
- 处理HTTP响应和错误
- 解析JSON数据并更新显示
-
updateClockDisplay()函数:
-
页面初始化:
- DOM加载完成后初始化时钟
- 设置定时器实现自动更新
- 绑定按钮点击事件
实时时钟工作原理
API调用机制
前端通过Fetch API调用后端的/api/beijing-time端点:
1
| const response = await fetch('/api/beijing-time');
|
这将发送一个HTTP GET请求到服务器,服务器返回JSON格式的时间数据。
实时更新机制
使用setInterval函数实现定时更新:
1
2
3
| setInterval(function() {
getBeijingTime();
}, 1000);
|
这会每秒调用一次getBeijingTime()函数,实现时钟的实时更新。
错误处理
通过try/catch语句处理可能的错误:
1
2
3
4
5
6
| try {
} catch (error) {
console.error('获取时间失败:', error);
document.getElementById('time-info').textContent = '获取时间失败,请稍后重试';
}
|
增强实时时钟功能
添加更多时区显示
可以在页面中添加更多时区的时钟显示:
1
2
3
4
5
6
7
8
9
10
11
12
13
14
15
16
17
18
19
20
21
|
async function getWorldTime() {
try {
const response = await fetch('/api/world-time');
if (!response.ok) {
throw new Error(`HTTP error! status: ${response.status}`);
}
const timeData = await response.json();
Object.keys(timeData.timeZones).forEach(timezone => {
const elementId = timezone.replace(/\//g, '-').toLowerCase();
const element = document.getElementById(elementId);
if (element) {
element.textContent = timeData.timeZones[timezone];
}
});
} catch (error) {
console.error('获取世界时间失败:', error);
}
}
|
添加动画效果
为时钟添加过渡动画效果:
1
2
3
4
5
6
7
8
| .digital-clock {
transition: all 0.3s ease;
}
.digital-clock.changing {
transform: scale(1.05);
color: #ff6b6b;
}
|
1
2
3
4
5
6
7
|
document.getElementById('digital-clock').classList.add('changing');
setTimeout(() => {
document.getElementById('digital-clock').classList.remove('changing');
}, 300);
|
前端API调用最佳实践
1. 错误处理
始终处理网络错误和HTTP错误状态:
1
2
3
| if (!response.ok) {
throw new Error(`HTTP error! status: ${response.status}`);
}
|
2. 加载状态
在等待API响应时显示加载状态:
1
2
|
document.getElementById('time-info').textContent = '正在获取时间数据...';
|
3. 防止重复请求
在高频率更新场景中,考虑防抖或节流:
1
2
3
4
5
6
7
8
9
10
11
12
| let isFetching = false;
async function getBeijingTime() {
if (isFetching) return;
isFetching = true;
try {
} finally {
isFetching = false;
}
}
|
4. 缓存策略
对于不频繁变化的数据,可以实现简单的缓存:
1
2
3
4
5
6
7
8
9
10
11
12
13
14
15
16
17
| let cachedTimeData = null;
let lastFetchTime = 0;
const CACHE_DURATION = 5000;
async function getBeijingTime() {
const now = Date.now();
if (cachedTimeData && (now - lastFetchTime) < CACHE_DURATION) {
updateClockDisplay(cachedTimeData);
return;
}
cachedTimeData = timeData;
lastFetchTime = now;
}
|
测试实时时钟功能
启动服务器
确保Express服务器正在运行:
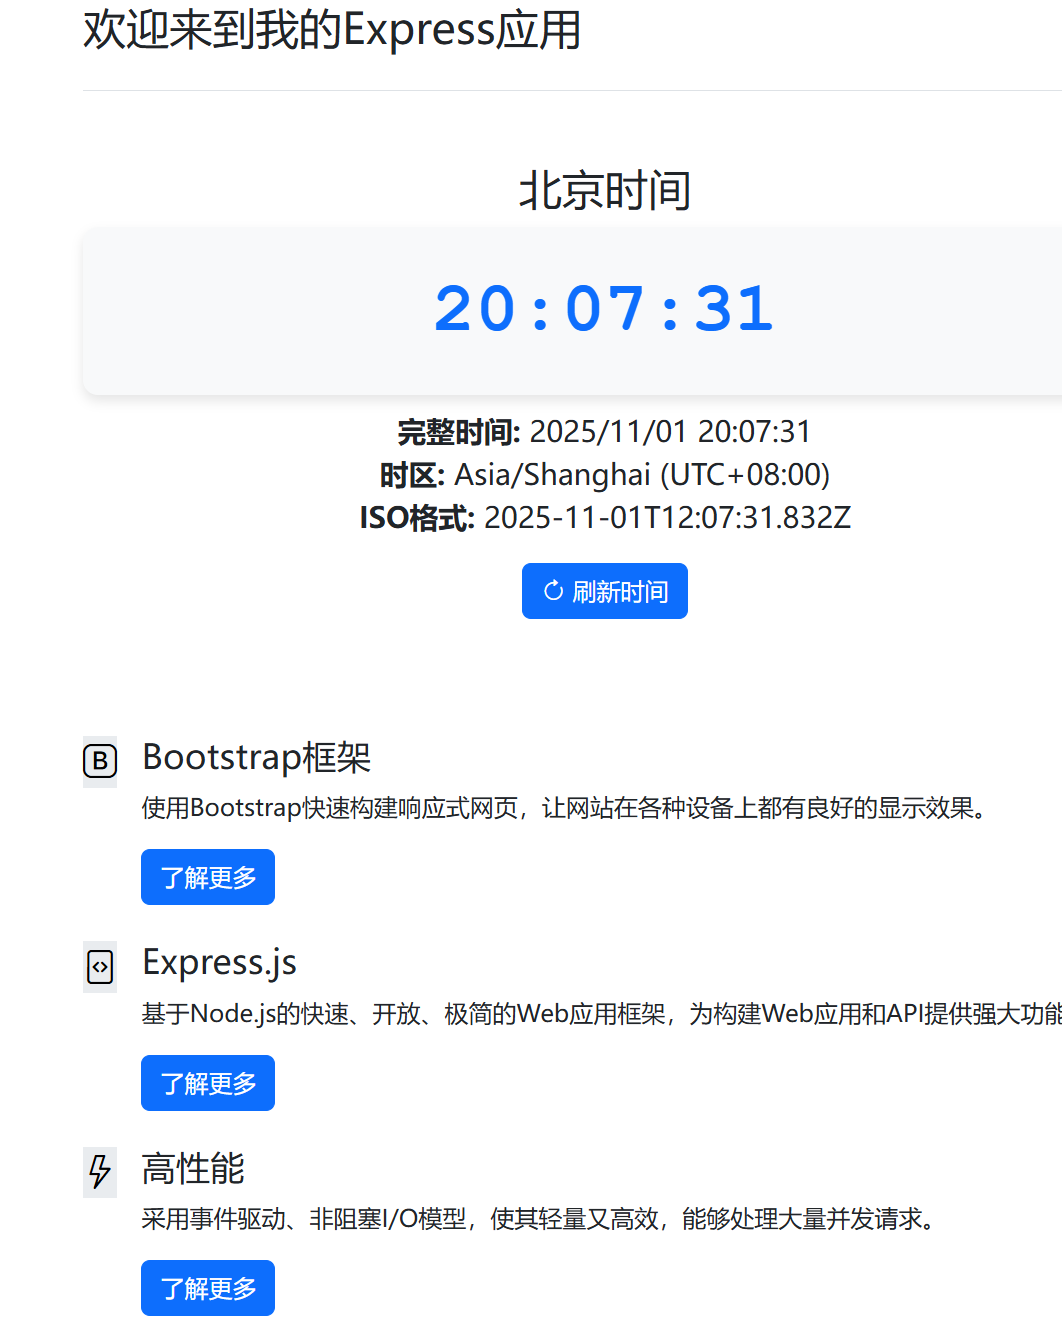
访问主页
在浏览器中访问http://localhost:3000,您应该能看到:
- 页面顶部显示实时时钟
- 时钟每秒自动更新
- 显示详细的时区和时间信息
- 刷新按钮可以手动更新时间
验证API调用
打开浏览器的开发者工具(F12),切换到Network标签页,可以观察到:
- 每秒向
/api/beijing-time发送请求
- 服务器返回JSON格式的时间数据
- HTTP状态码为200
总结
通过本教程,我们学习了如何:
- 在前端使用Fetch API调用后端API
- 创建实时时钟组件并显示北京时间
- 实现自动更新和手动刷新功能
- 处理API调用中的错误和加载状态
- 应用前端API调用的最佳实践
这些技能为构建动态、交互式的Web应用奠定了基础,使您的应用能够实时显示后端数据并与用户进行交互。
参考文献
[1] MDN Web Docs, “Fetch API,” Mozilla Developer Network, 2023. [Online]. Available: https://developer.mozilla.org/en-US/docs/Web/API/Fetch_API. [Accessed: Oct. 30, 2025].